Introduction
The realm of beauty and fashion has embraced nail art, where many styles and methods adorn the fingertips of individuals. Among these, the ombre nail design stands out as a favored choice. Ombre nails are beloved for blending colors, creating a captivating transition from one hue to another. This article aims to provide an overview of ombre nails, covering everything from their definition to steps to achieving this elegant look in the comfort of your own home.
Table of Contents
What Are Ombre Nails?
Ombre nails, a form of nail art showcasing a color gradient, derive their name from the word “ombre,” meaning a blending of colors. Ombre nails can exhibit a fade between hues or a sharp transition, resulting in an eye-catching look. This versatile style allows for color combinations, making it appropriate for any event.
Why Choose Ombre Nails?
Ombre nails aren’t just a fad; they bring advantages that contribute to their appeal;
Versatility: Ombre nails offer a range of color combinations, making them suitable for any outfit or event.
Creativity: This method encourages creativity, allowing you to play around with hues and designs.
Sophistication: The gradient effect adds a hint of refinement and class to your appearance.
Ease of upkeep: In comparison to nail art, maintaining ombre nails is relatively hassle-free.
Popular Ombre Nail Color Combinations
Here are some popular color combinations to inspire your next ombre nail design:
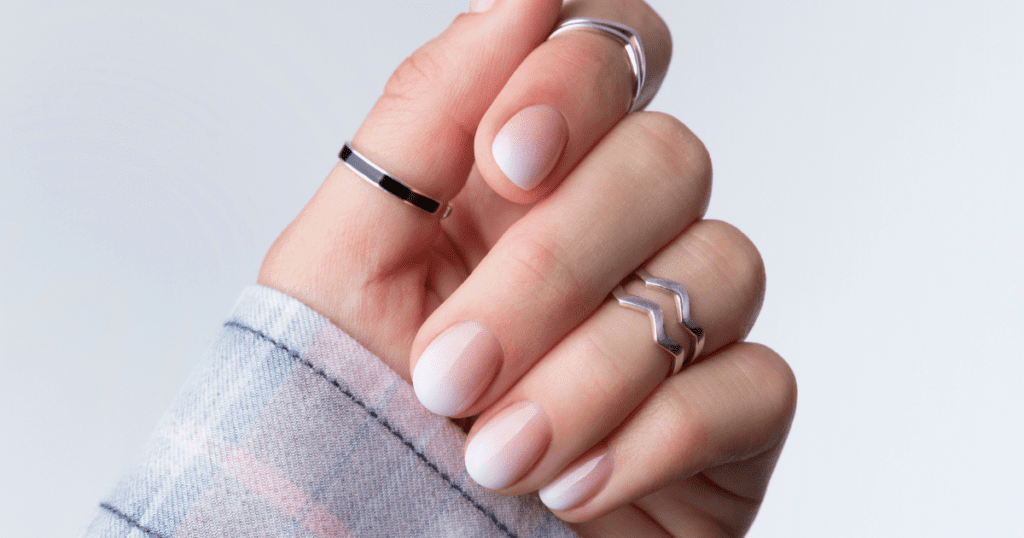
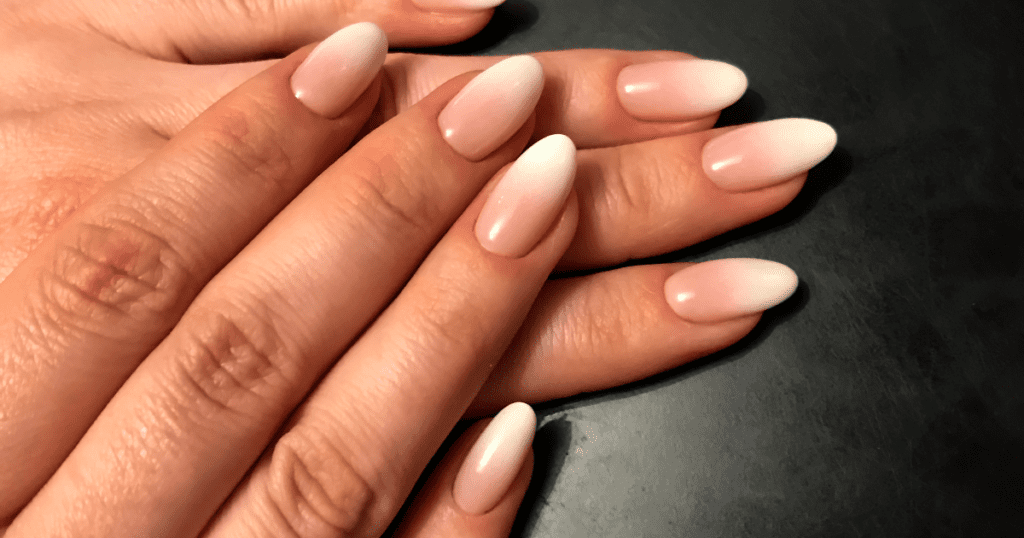
- Pink and White: A classic and soft look, perfect for weddings or romantic occasions.
- Blue and Purple: A bold and vibrant combination that stands out.
- Black and Red: A dramatic and edgy blend, suitable for a night out.
- Nude and Glitter: A subtle yet glamorous option for everyday wear.
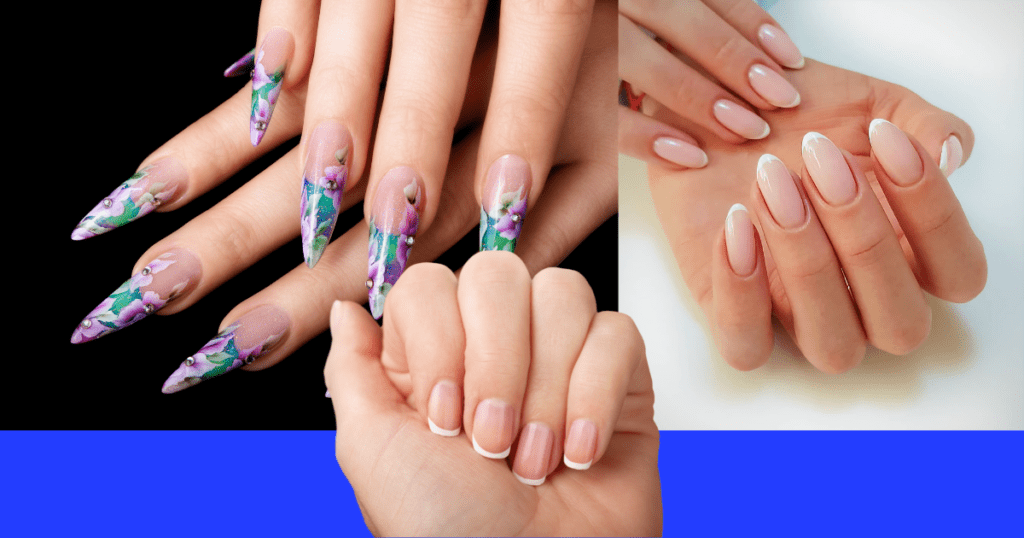
Pink and White Ombre
- Description: A timeless and romantic combination, perfect for weddings, formal events, or everyday elegance.
- Tips: Choose a pale pink that fades into a crisp white for a softer look. Add a touch of glitter on the tips for a subtle sparkle.
Nude and Black Ombre
- Description: A sophisticated and modern twist on the classic French manicure, ideal for those who love a minimalist aesthetic.
- Tips: Start with a nude base and gradually blend into a black tip. Keep the transition smooth for a chic look.
Bold and Vibrant Combinations
Blue and Green Ombre
- Description: A refreshing and lively combination that evokes images of tropical seas and lush forests.
- Tips: Choose shades of blue and green that complement each other well. A teal or turquoise can serve as a perfect middle ground to blend the two colors seamlessly.
Purple and Orange Ombre
- Description: An unexpected and daring combination that creates a stunning visual contrast.
- Tips: Opt for a deep purple and a bright orange for a striking effect. This combination works particularly well for autumn-inspired designs.
Soft and Pastel Combinations
Lavender and Baby Blue Ombre
- Description: A dreamy and gentle combination that exudes tranquility and softness.
- Tips: Use a sponge to dab the colors gently onto the nail, creating a smooth transition between the soft lavender and the delicate baby blue.
Peach and Mint Ombre
- Description: A refreshing and sweet combination perfect for spring and summer.
- Tips: Start with a peach base and gradually blend into a mint green tip. This combination is ideal for a fresh daytime look.
Glitter and Metallic Combinations
Silver and Gold Ombre
- Description: A luxurious and glamorous combination that adds a touch of sparkle to any outfit.
- Tips: Use metallic polishes for a shimmering effect. Apply the silver base and gently blend into the gold for a seamless transition.
Rose Gold and Champagne Ombre
- Description: A chic and elegant combination that’s perfect for special occasions or adding a bit of glam to your everyday style.
- Tips: Choose a rose gold polish with fine glitter particles and blend it into a champagne shade for a subtle yet stunning look.

Step-by-Step Guide to Achieving Ombre Nails at Home
Creating ombre nails at home is more accessible. Here’s a simple step-by-step guide:
Materials Needed
- Base coat
- Two or more nail polish colors
- Makeup sponge
- Topcoat
- Nail polish remover
- Q-tips or a small brush
Instructions
- Prepare Your Nails: Start by applying a base coat to protect your nails and ensure a smooth application.
- Apply the Base Color: Choose the lighter of your chosen colors and apply it as the base. Allow it to dry completely.
- Create the Ombre Effect: On a flat surface, apply stripes of your chosen colors next to each other on the makeup sponge. Slightly overlap the colors to help them blend.
- Dab the Sponge: Gently dab it onto your nail, moving it slightly up and down to blend the colors. Repeat this process until you’re satisfied with the gradient.
- Clean Up: Use a Q-tip or a small brush dipped in nail polish remover to clean up any excess polish around your nails.
- Apply a Topcoat: Finish with a topcoat to seal in your design and add a glossy finish.

Tips for Perfect Ombre Nails
- Practice Makes Perfect: Don’t be discouraged if your first attempt isn’t perfect. Practice will help you achieve a smoother gradient.
- Use a Makeup Sponge: A makeup sponge is critical to creating a blended effect. The denser the sponge, the better the gradient.
- Work Quickly: Nail polish dries fast, so work quickly to blend the colors before they dry.
- Experiment with textures: Mix matte and glossy finishes or add glitter for a unique twist on your ombre nails.
Conclusion
Ombre nails offer endless possibilities for creativity and personal expression. Whether you prefer classic, bold, soft, or glittery combinations, there’s an ombre style to suit your taste. Experiment with different color palettes and techniques to find your perfect ombre look. Remember, the key to beautiful ombre nails is a smooth transition between colors, so take your time and practice to achieve the best results.
FAQs on Popular Ombre Nail Color Combinations
1. What are ombre nails?
Ombre nails feature a gradient effect where one color transitions into another. This can be a smooth blend or a more distinct change in color, creating a stylish and eye-catching look.
2. Are ombre nails suitable for all occasions?
Yes, ombre nails are versatile and can be tailored to suit any occasion, from formal events to casual outings. The key is choosing the right color combination to match the mood and setting.
3. Can I achieve ombre nails at home?
Absolutely! With some practice, you can create beautiful ombre nails at home using a makeup sponge, two or more nail polish colors, and a topcoat to seal the design.
4. How do I choose the right color combination for my ombre nails?
Consider the occasion, your outfit, and personal preferences. Classic combinations like pink and white are great for a timeless look, while bold pairs like purple and orange make a statement.
5. Can I use glitter or metallic shades for ombre nails?
Yes, glitter and metallic shades can add a glamorous touch to your ombre nails. Just ensure that the transition between the shades is smooth for a seamless effect.
6. How can I make my ombre nails last longer?
To prolong the life of your ombre nails, start with a base coat to protect your nails, and finish with a topcoat to seal the design. Avoid activities that can chip your polish, and consider using gel polish for longer-lasting results.
7. Are there any tools I need to create ombre nails?
The most important tool is a makeup sponge, which you’ll use to blend the colors on your nails. Additionally, you might need a small brush or Q-tip dipped in nail polish remover for clean up around the edges.
8. Can I mix different finishes, like matte and glossy, in my ombre design?
Yes, mixing finishes can add an interesting dimension to your ombre nails. For example, you can have a matte base color with a glossy ombre effect on top or vice versa.
9. How can I ensure a smooth transition between colors?
The key is to use a light hand when dabbing the colors onto your nail with the sponge. Overlap the colors slightly on the sponge before applying them to your nail, and use a gentle up-and-down motion to blend them.
10. Can ombre nails be done with more than two colors?
Definitely! While two colors are common, you can experiment with multiple shades to create a more complex and colorful gradient effect. Just ensure that the colors complement each other well.