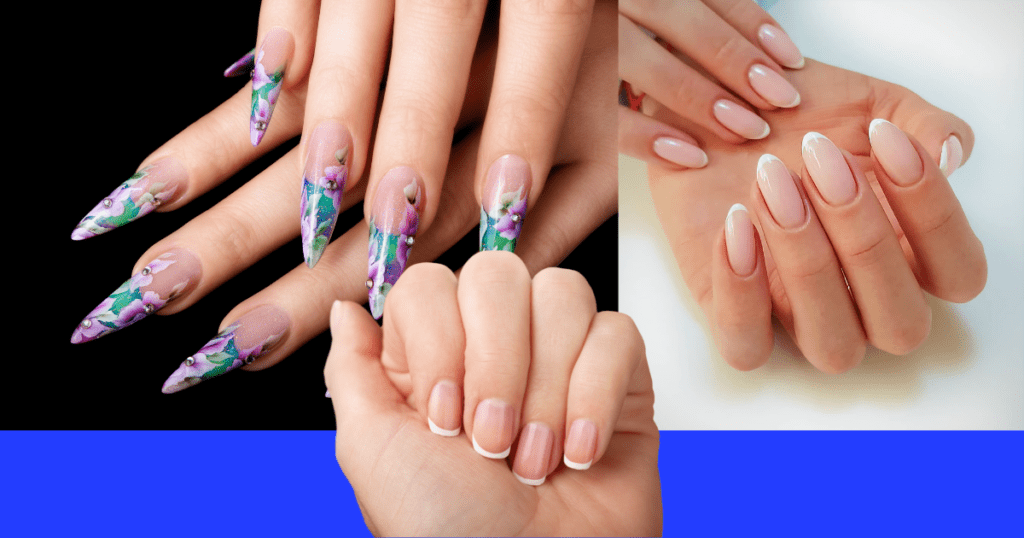
Introduction
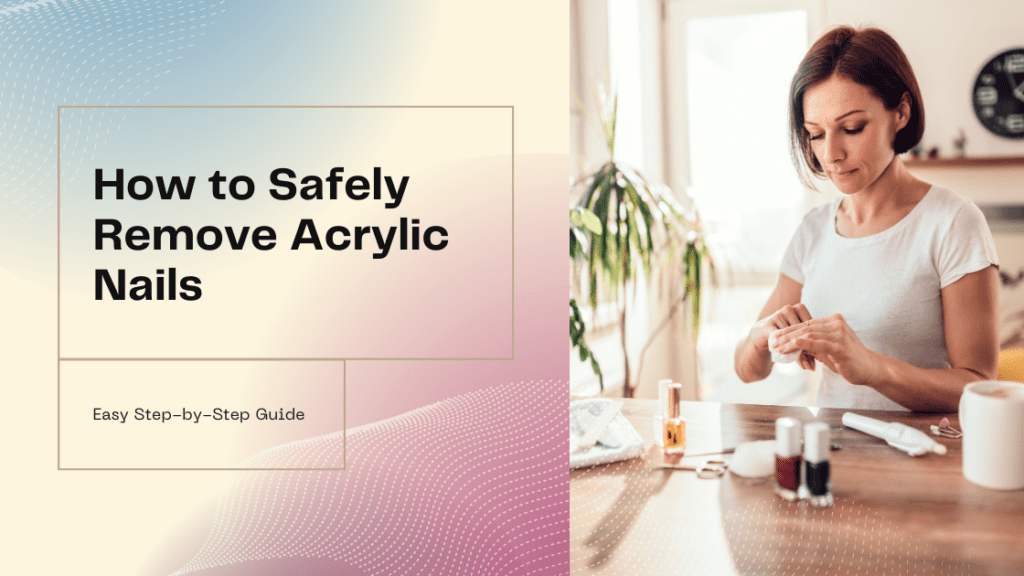
Alright, so you’ve decided to say goodbye to your acrylic nails. Whether you long for an appearance or your nails need a break, you’re in good hands! Taking off acrylic nails is a job. Don’t worry. This blog post will walk you through each step, guaranteeing that your natural nails stay intact and in shape. Prepare yourself for guidance that will simplify the process of removing your acrylics!
Table of Contents
Why Proper Removal Matters
Let’s first discuss the reason behind it before delving into the process. It is essential to remove acrylic nails, as doing it incorrectly can harm your nails, making them fragile, weak, and sometimes even causing pain. However, by using this method, you can steer clear of these issues. Let’s get started!
What You’ll Need
Before you start, gather the following supplies:
- Acetone (100% pure)
- Nail clippers
- Nail file
- Orange stick or cuticle pusher
- Petroleum jelly
- Cotton balls or pads
- Aluminum foil
- Warm water
- Nail buffer
- Moisturizer or cuticle oil
Step-by-Step Guide to Removing Acrylic Nails
1. Get your nails ready
To start, trim your acrylic nails using nail clippers to make them as short, as possible. This will make it easier to dissolve the acrylic and speed up the process. Next, gently file the layer of acrylic to break the seal and allow the acetone to work effectively.
2. Protect your skin
Since acetone can be harsh on your skin, it’s essential to protect the skin around your nails. Apply a layer of petroleum jelly to the area surrounding your nails, making sure not to get any, on the nail itself, as it could interfere with the acetone’s effectiveness.
Acetone can be harsh on your skin, so it’s important to protect the area around your nails. Apply a thin layer of petroleum jelly to the skin surrounding your nails, being careful not to get any on the nail itself, as this can prevent the acetone from working.
3. Soak Your Nails
Soak a cotton ball or pad in acetone. Place it on your nail. Wrap each finger with aluminum foil to hold the cotton ball in place creating a sauna for your nails. Let them soak for 15 to 20 minutes or longer if your acrylics are stubborn.
4. Check and Gently Scrape
Once you’ve let your nails soak carefully, take off the foil and cotton from one nail to see how the acrylic is doing. It should feel soft and gel-like. Use an orange stick or cuticle pusher to remove the acrylic. Be sure to be gentle and avoid putting pressure on your nails, as it could harm your real nails. If the acrylic is still hard, just reapply the acetone-soaked cotton and foil. Let it soak for another 5 to 10 minutes.
5. Buff and Shape
After taking off all the acrylic, gently buff your nails to make them smooth. This will get rid of any leftover acrylic and fix any areas. Next, shape your nails using a nail file to achieve your desired look.
6. Hydrate and Moisturize
Using acetone can make your nails dry, so it’s crucial to keep them hydrated. Start by soaking your nails in water for a while, then apply a good amount of moisturizer, or cuticle oil, to both your nails and cuticles. Gently massage it in to help it absorb better and calm any irritation.

Here’s a comparison table highlighting the differences between improper and proper removal of acrylic nails:
| Aspect | Improper Removal | Proper Removal |
| Technique | Forcibly peeling or ripping off | Soaking in acetone and gently removing |
| Impact on Natural Nails | Damage such as cracks and thinning | Preserves the health of natural nails |
| Pain Level | Can be painful | Minimal to no pain |
| Aftercare | May require extensive nail repair | Minimal aftercare needed |
| Risk of Infection | Higher due to exposed damaged nail bed | Lower risk |
| Time Consumption | Quick but risky | Takes longer but safer |
| Long-Term Effects | Potential for long-term nail damage | Maintains nail integrity |
| Cost | May incur additional repair costs | Cost-effective in the long run |
Tips for a Smooth Removal Process
Take your time during the nail removal process to prevent any damage to your nails. Be gentle and patient throughout the procedure.
When soaking your nails, keep them from heat sources, as it can cause the acetone to evaporate quickly, reducing its effectiveness.
Opt for acetone or non-acetone nail polish removers, as they may not be strong enough to dissolve acrylic nails. Using 100% acetone will yield the results.
Avoid the temptation to pry. Peel off acrylic nails if they seem stubborn. Doing so can result in damage and potential infections.
Conclusion
Taking off acrylic nails at home can be a secure procedure. By following these guidelines and ensuring safety measures, you can get good results without spending a fortune at the salon. Remember to look after your nails to maintain their health and strength. Enjoy taking care of your nails!
By following this guide, you’re not just removing your acrylic nails but also ensuring that your natural nails remain healthy and beautiful. Remember, nail care is self-care, so take your time and treat your nails with the love they deserve.
FAQs
Q: Can I remove acrylic nails without acetone?
A: While acetone is the most effective and standard method, alternative methods involve filing and soaking in warm, soapy water. However, these methods are generally more time-consuming and may need to be more effective.
Q: How often should I take a break from acrylic nails?
A: It’s a good idea to break your nails every three to six months to allow them to recover and breathe.
Q: What if my nails are fragile and brittle after removal?
A: Invest in a good nail strengthener and keep your nails moisturized. Also, try to keep them shorter until they regain their strength.